Building a new home is the single best opportunity you’ll ever get to go smart — not because of the technology itself, but because of what’s behind the walls. Once the drywall goes up, that opportunity becomes expensive very quickly.
Retrofitting smart home technology into a finished home is doable. Electricians will confirm it’s also messy, disruptive, and far more costly than doing it during construction. Cutting drywall, fishing wires through insulated cavities, patching and repainting — it adds up fast. And some features, like in-ceiling speakers or a robust structured wiring system, are simply impractical to add without a major renovation.
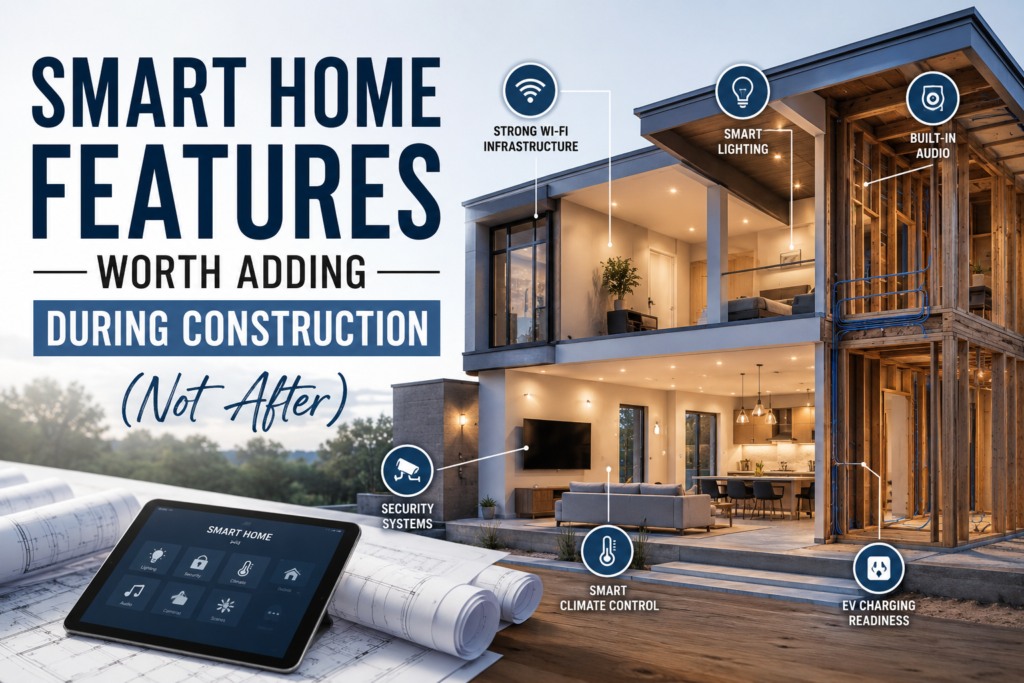
The secret to a future-ready home isn’t necessarily buying every smart device today. It’s installing the right infrastructure during the build phase so your options remain open for decades. Here’s what genuinely matters — and why.
1. Structured wiring and a centralized media panel
Think of a structured wiring panel as the nervous system of your smart home. Installed in a central closet or utility space, it consolidates all incoming and outgoing data, coax, and ethernet connections in one place. This is infinitely easier to plan during framing than to retrofit later.
During construction, ask your builder to run Cat6 ethernet drops to every room — not just the office. Streaming devices, smart TVs, gaming consoles, and home security cameras all perform better over a wired connection than Wi-Fi. A typical custom home should have drops in every bedroom, living area, kitchen, and ideally, a few outdoor locations. The cost of wire and labor during construction is a fraction of what it costs to add later.
Also consider a dedicated conduit run from your utility area to the attic or exterior — a clear pathway that makes future upgrades (fiber optic, new cable types) simple without tearing into walls.
2. Whole-home audio rough-in
In-ceiling and in-wall speakers deliver remarkably clean sound because the enclosure (your ceiling cavity) does much of the acoustic work. But they require speaker wire to be run before drywall — an afternoon’s work during framing that becomes a major project afterward.
You don’t have to install the speakers themselves during construction. Run the wire, install the volume control wall plate cutouts, and leave coiled wire in each room. When the budget and inclination align, adding the actual speakers is a straightforward afternoon. Multi-room audio systems like Sonos, Denon HEOS, or even custom-configured systems become dramatically easier with pre-run wire.
Cat6 Ethernet drops
Every room, now. Wired beats Wi-Fi for reliability and speed every time.
In-ceiling audio wire
Run the wire now, install speakers when you’re ready. Invisible and high-fidelity.
Lighting control conduit
Smart switches and dimmers need neutral wires — specify this from day one.
Security camera conduit
Exterior conduit runs to eaves and entry points save costly drilling later.
EV charger circuit
A 240V circuit to the garage is cheap to add now; pricey to retrofit.
Solar/battery conduit
Pathway from roof to electrical panel makes future solar seamless to install.
3. Smart lighting infrastructure
This is one of the most impactful — and commonly overlooked — construction-phase decisions. Most standard electrical wiring uses two-wire configurations that lack a neutral wire at the switch. The vast majority of smart switches and dimmers require a neutral wire to operate reliably, especially with LED loads.
Specify three-wire (with neutral) runs to all switch locations during construction. This single instruction, clearly communicated to your electrician, unlocks full compatibility with nearly every smart lighting system on the market — Lutron Caséta, Leviton, TP-Link Kasa, and others — for the lifetime of the home.
If you’re planning a higher-end lighting control system (Lutron RadioRA, Control4, Crestron), discuss this with your integrator during the design phase. These systems may require specific conduit layouts, dedicated circuits, or a lighting control panel that’s far simpler to specify in new construction than to add later.
4. Security and surveillance rough-in
Modern security cameras are increasingly wireless — but wireless has real limitations for permanent, high-reliability installations. Power over Ethernet (PoE) cameras are more reliable, support higher resolutions, and don’t depend on battery swaps. During construction, run Cat6 to your preferred camera locations: entry points, driveways, garage, and any elevated exterior positions at the eaves.
A conduit from your electrical panel or utility room to these exterior positions means future camera upgrades or system changes are clean and simple. Also consider a dedicated circuit for your security DVR or NVR, a doorbell camera circuit, and pre-wired motion sensor locations if you’re planning an alarm system.
Builder’s tip: Ask your contractor to install empty conduit — even cheap PVC — between floors, from the garage to the attic, and from the main panel to key exterior walls. Empty conduit is inexpensive during framing and invaluable for future upgrades. Think of it as a roadmap for the next 30 years.
5. EV charging and future energy infrastructure
Even if you don’t own an electric vehicle today, installing a 240V, 50-amp circuit (NEMA 14-50) in your garage during construction costs very little — typically just the material and a bit of electrician time. The same circuit powers Level 2 EV chargers from every major manufacturer. Adding this circuit after the fact, especially in a finished garage, can cost 3–5 times more.
On a similar note: if solar panels are even a remote future possibility, ask your builder to install a conduit pathway from the roof to your main electrical panel. Sleeve it through the attic and wall cavity. This single piece of PVC pipe can save thousands when a solar installer eventually doesn’t have to core-drill through finished walls and ceilings.
6. Smart HVAC and automation-ready systems
Modern zoned HVAC systems — which heat and cool different areas of the home independently — are ideally designed and wired during construction. While many smart thermostats like Ecobee and Nest work with standard wiring, a robust multi-zone system with motorized dampers requires careful planning of control wiring from the air handler to each zone.
This is also the phase to specify a C-wire (common wire) at all thermostat locations. Like the neutral wire for lighting, the C-wire is what smart thermostats use to maintain a continuous low-voltage power supply — preventing battery drain and connectivity issues.
Rough cost comparison: during vs. after construction
| Feature | During construction | Retrofit cost | Difficulty |
|---|---|---|---|
| Cat6 per room (8 drops) | ₹8,000–15,000 | ₹40,000–80,000 | Moderate |
| In-ceiling speaker wire (4 rooms) | ₹4,000–8,000 | ₹25,000–60,000 | High |
| Smart lighting neutral wires | ₹3,000–6,000 | ₹15,000–35,000 | Moderate |
| EV charger circuit (240V) | ₹5,000–10,000 | ₹18,000–45,000 | Easy–Moderate |
| Security camera conduit (4 pts) | ₹3,000–6,000 | ₹20,000–50,000 | High |
| Solar conduit pathway | ₹2,000–4,000 | ₹12,000–30,000 | Specialist needed |
These figures are estimates for Indian residential construction contexts and vary by city and contractor. The principle is consistent everywhere: the materials are cheap; the labor of opening finished walls is not.
What you don’t need to decide now
Infrastructure yes; devices, not necessarily. Smart locks, voice assistants, video doorbells, robot vacuums — these can all be added after you move in. They don’t require construction-phase decisions. Focus your pre-construction energy on what lives inside walls, ceilings, and floors. Everything else can follow at your own pace and budget.
The best smart home isn’t the one with the most gadgets. It’s the one that was built to accommodate whatever comes next — wired for possibilities you haven’t even thought of yet.
Frequently asked questions
What smart home features should I prioritize if I have a limited construction budget?
Prioritize infrastructure over devices. The highest-ROI investments are: (1) Cat6 ethernet drops in every room, (2) neutral wires at all light switch locations, and (3) a 240V EV circuit in the garage. These three items cost relatively little during framing but save enormous money and hassle when you later want to install smart switches, reliable wired internet, or an EV charger. Everything else can be wireless or added later.
Do I need a smart home integrator during construction, or can I plan it myself?
For most homes, you can handle the planning yourself by clearly communicating specific wire and conduit requirements to your electrician and builder. However, if you’re considering a custom automation system (Control4, Crestron, Savant) or a whole-home AV system, engaging a certified integrator during the design phase is worth the consultation fee. They can specify exact conduit paths, panel locations, and rack room requirements that significantly improve the final result.
Can I add smart lighting to a home that was built without neutral wires?
Yes — some smart switches (notably Lutron Caséta) are specifically designed to work without a neutral wire. However, compatibility is limited, dimming performance can vary with LED loads, and you’re excluding many product options. For a finished home, Lutron Caséta is generally the recommended workaround. For a home under construction, simply specifying three-wire runs to all switch boxes costs almost nothing and keeps all future options open.
What is a structured wiring panel and do I really need one?
enclosure — usually in a utility closet — where all your ethernet, coax, telephone, and data wires terminate. Instead of running separate cables to each room independently, everything comes back to this central point where it can be patched, managed, and upgraded easily. For a home with 8+ ethernet drops, it’s genuinely useful. For smaller homes, a simple patch panel in a closet achieves the same goal at lower cost.
Is Cat6 still worth running in 2026, or should I use fiber or Cat7/Cat8?
Cat6 supports 10 Gbps up to 55 meters and is more than sufficient for residential use for the foreseeable future. Cat6A extends 10 Gbps to 100 meters with better shielding — worth specifying if your home is large or if you’re running long cable lengths. Cat7 and Cat8 are overkill for residential use and come with connectivity trade-offs. Fiber is excellent for backbone runs between floors or between buildings, but not necessary for room drops. Standard Cat6 or Cat6A is the practical sweet spot for 2026 residential construction.
How do I make sure my builder actually installs what I’ve requested?
Get every smart home infrastructure item written into the construction contract — not just verbal agreements. Create a clear “smart home rough-in” specification document listing each run, its origin, destination, wire type, and any conduit requirements. Ask to inspect all runs before drywall is installed. Taking photos of wire locations before walls are closed is also highly recommended — it makes future drilling, patching, or upgrades much safer and more accurate.